How to Spend 2-3 Nights in the John Muir Wilderness
By Cap Puckhaber, Reno, Nevada
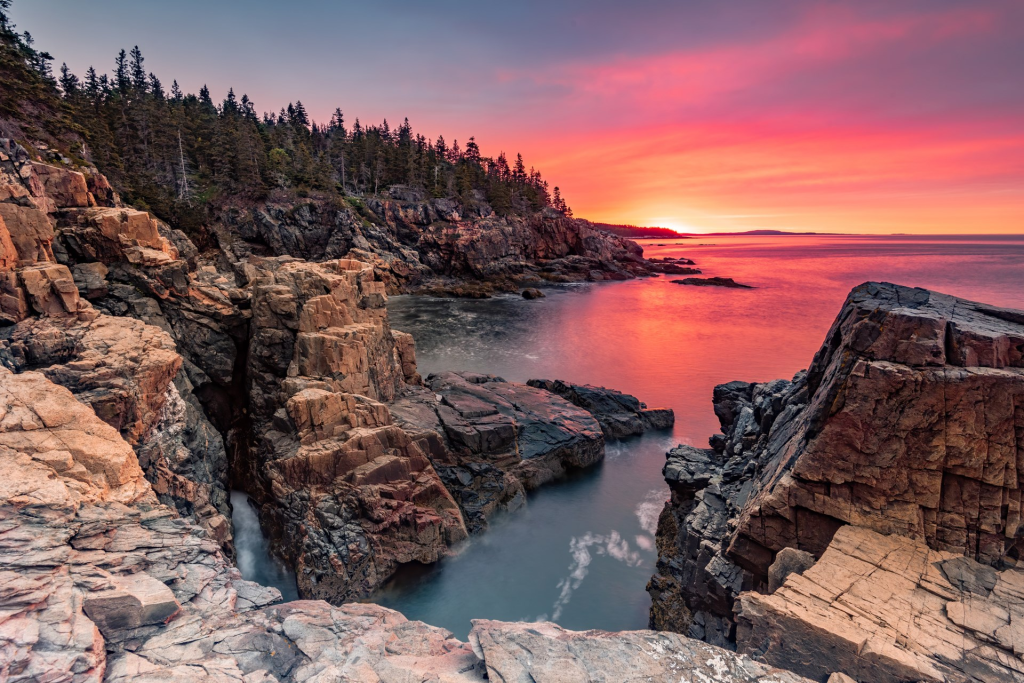
The John Muir Wilderness (JMW) sits in California’s majestic Sierra Nevada. It offers some of the most stunning and remote backpacking in the United States. This wilderness is a paradise for outdoor enthusiasts with its rugged terrain, clear lakes, and towering peaks.
This guide breaks down everything for your 2-3 night backpacking trip. We will cover permits, popular routes, and essential camp spots.
Getting There and Securing Your Permit
Accessing the Eastern Sierra Trailheads
Most visitors use the Eastern Sierra entrance to reach the John Muir Wilderness. The Inyo National Forest is a popular access point and home to many trailheads. The drive from Los Angeles to Mammoth Lakes or Bishop takes about 5-6 hours. Both towns offer access to the wilderness.
You will need to park at one of the trailheads. The main ones include:
- North Lake (access for Piute Pass)
- South Lake (access for Bishop Pass and the Evolution Basin)
- Mono Pass (access for Lamarck Col and others)
All trailheads are along U.S. Highway 395. Parking can be limited, especially in summer. Arrive early or camp nearby the night before your hike.
How to Get a JMW Permit
You must have a wilderness permit to backpack in the John Muir Wilderness. The Inyo National Forest issues these permits. You can get them online through the Recreation.gov website.
Permits use a quota system for specific trailheads, so plan ahead. We highly recommend advanced reservations for peak summer months. Your JMW permit will specify your entry and exit points and the dates of your trip.
Popular 2-3 Night Backpacking Itineraries
The John Muir Wilderness has many routes. They range from moderate hikes to challenging treks. Here are a few classic 2-3 night John Muir Wilderness itineraries with varied High Sierra terrain.
Route 1: Piute Pass Loop (North Lake to Piute Pass)
- Mileage: 25-30 miles (round trip). This distance varies based on your exact route and any side trips. I suggest planning for 30 miles to be safe for food and scheduling.
- Elevation Gain: ~6,000 feet. The initial climb to Piute Pass is the main source of this gain. Prepare for the altitude, as the pass sits at 11,423 feet.
- Terrain: Alpine terrain, granite peaks, and wildflower-filled meadows. The trail is rocky, so wear sturdy hiking boots for ankle support. You might see snow patches at high elevations, even in early summer.
- Difficulty: Moderate to challenging. The altitude and sustained elevation gain make this route challenging. It is best for conditioned backpackers with prior High Sierra experience.
This loop begins at North Lake and follows the Piute Pass Trail. You will ascend a scenic alpine valley to the pass. The route then descends into the Piute Basin, offering beautiful views.
Camping spots: You can camp around Piute Lake or Lower Desolation Lake. Both offer scenic views and plenty of solitude.
Route 2: Bishop Pass to LeConte Canyon
- Mileage: 23-28 miles (round trip). This is an out-and-back route, so your mileage is flexible. The 28-mile estimate includes descending fully into LeConte Canyon to explore its meadows.
- Elevation Gain: ~5,500 feet. The ascent to Bishop Pass (12,000 feet) is strenuous. It involves steep switchbacks, especially on the final push. Start early to avoid afternoon thunderstorms.
- Terrain: Steep ascents, alpine lakes, and meadows. The trail from South Lake is incredibly scenic. It passes lakes like Long Lake and Saddlerock Lake, which are perfect rest stops.
- Difficulty: Moderate. The pass is high and steep, but the trail is well-graded. It requires no technical skills, making it “moderate” for those acclimated to the altitude.
This classic route begins at South Lake. It follows the Bishop Pass Trail. The pass itself offers stunning views. Once in LeConte Canyon, you’ll find lush meadows and rushing streams.
Camping spots: Bishop Pass has good (but exposed) campsites near the pass. LeConte Canyon offers several sheltered areas along the creek.
Route 3: Mono Pass and Lamarck Col
- Mileage: 20-25 miles (round trip). This mileage reflects an out-and-back trip to the Evolution Basin area. Many hikers use this as a base camp to explore nearby lakes.
- Elevation Gain: ~4,500 feet. The climb to Lamarck Col is notable. It is a “col” (a high-altitude pass), not a maintained trail. The gain feels more intense on the rocky, off-trail sections.
- Terrain: Rocky terrain with dramatic views and alpine lakes. This route is more rugged and less traveled. The path to Lamarck Col is cross-country and requires good navigation skills.
- Difficulty: Moderate to challenging. The challenge comes from off-trail navigation and talus-hopping over Lamarck Col. Only attempt this route if you are confident in your route-finding and fitness.
Consider starting at Mono Pass for a quieter route. You’ll hike through rocky terrain to reach Lamarck Col. This pass offers views of Darwin Canyon and the Evolution Basin.
Camping spots: Mono Pass Lake is a great camp for the first night. Evolution Basin offers more secluded options for the second night.
Wilderness Camping and Essential Safety
Leave No Trace and Campsite Selection
Dispersed camping is allowed in most of the JMW. You must follow all Leave No Trace principles. This means camping at least 200 feet from lakes, streams, and trails.
Popular camping areas include:
- Piute Lake near Piute Pass
- Upper Boy Scout Lake near Bishop Pass
- Evolution Basin near Lamarck Col
Each site offers incredible views. They also provide access to more hiking routes.
Bear Safety and Food Storage
This is active bear country. Proper food storage is a requirement. All backpackers must carry an approved bear-resistant canister for food and scented items. This protects you, the bears, and future hikers. Never leave your pack unattended or store food in your tent.
Final Trip Planning Tips
A 2-3 night JMW trip is a perfect way to see the Sierra Nevada’s beauty. It’s an ideal location for both new and experienced backpackers.
Plan ahead with permits. Check weather conditions (the best time to visit is July through September). Pack the right backpacking gear. Prepare to experience some of the best backcountry hiking in California.
About the author
Cap Puckhaber is a marketing strategist, finance writer, and outdoor enthusiast. He writes across CapPuckhaber.com, TheHikingAdventures.com, SimpleFinanceBlog.com, and BlackDiamondMarketingSolutions.com. Follow him for honest, real-world advice backed by 20+ years of experience.
Hiking Rescues and Hiker Responsibility
A Hiker’s Guide to Active Volcanoes
Outside Festival Guide and Affect of Social Media
Join our Mailing List
Sign up with us now and be the first one to know about our exclusive offers and product updates.
By submitting your information, you`re giving us permission to email you. You may unsubscribe at any time.


Follow Cap Puckhaber on Social Media

About the Author: Cap Puckhaber
Backpacker, Marketer, Investor, Blogger, Husband, Dog-Dad, Golfer, Snowboarder
Cap Puckhaber is a marketing strategist, finance writer, and outdoor enthusiast from Reno, Nevada. He writes across CapPuckhaber.com, TheHikingAdventures.com, SimpleFinanceBlog.com, and BlackDiamondMarketingSolutions.com.
Follow him for honest, real-world advice backed by 20+ years of experience.